


In a house there are many rooms and each room serves a specific purpose, be it the sitting room, kitchen or bathroom. Keep this analogy in mind while reading this piece as it will help you grasp the idea behind creating virtual environments.
In this article, you will understand:
What a virtual environment is
How to create and activate a virtual environment
How to start a Django project in your virtual environment

- What is a virtual environment?
A virtual environment is a tool to create isolated Python environments. Let’s go back to that analogy from the start, now look at all the rooms in the house as virtual environments. Let’s talk about one virtual environment - the bathroom. To do bathing (my project), I need to use the bathroom (my virtual environment) because it has the equipment (specific packages and libraries) like the shower, bathtub, sink etc. in it.
This explains how virtual environments work, you create isolated Python environments for your projects that require specific packages or libraries. Additionally, creating virtual environments helps for better collaboration in projects as it avoids conflicts in running the code between the other team members globally installed versions.
- Now do you create a virtual environment for your Django environment?
Firstly, Django is a Python web framework that enables rapid development of secure and maintainable websites. So let’s say you want to create a blogging web app. Let's look at the following steps:
Open your terminal or command prompt depending on the OS you are using
Install Virtual environment globally
For Windows/Linux/Mac:
$ pip install virtualenv
- Create a virtual environment for your project
$ cd project_folder
$ virtualenv my_env
Note: my_env is the name of virtual environment
- To activate the virtual environment
For Windows:
my_env\Scripts\activate
Note: If you are not in the same directory you created the virtual environment, you have to specify the path like this:
documents\project_folder\my_env\Scripts\activate
For Linux or Mac:
$ source myenv/bin/activate
Now to know it has been activated, the name of the virtual environment will be at the left of the command line in curved brackets
(my_env) C:\Users\.............>
To install specific packages eg Django in your environment
$ pip install package_nameTo see the list of packages in your virtual environment
$ pip freezeTo deactivate the virtual environment
$ deactivate
So the path returns to normal, no name of environment in curved brackets.
- Now, How do you start a Django project in your virtual environment?
So skip the deactivate part above and follow these steps:
- Create a django project
Note: blog_app is the project name$ django-admin startproject blog_app
Change directory to project name
$ cd blog_appRun the project on server ( Django is a framework so it already has some files set up so you can run the main file for a start)
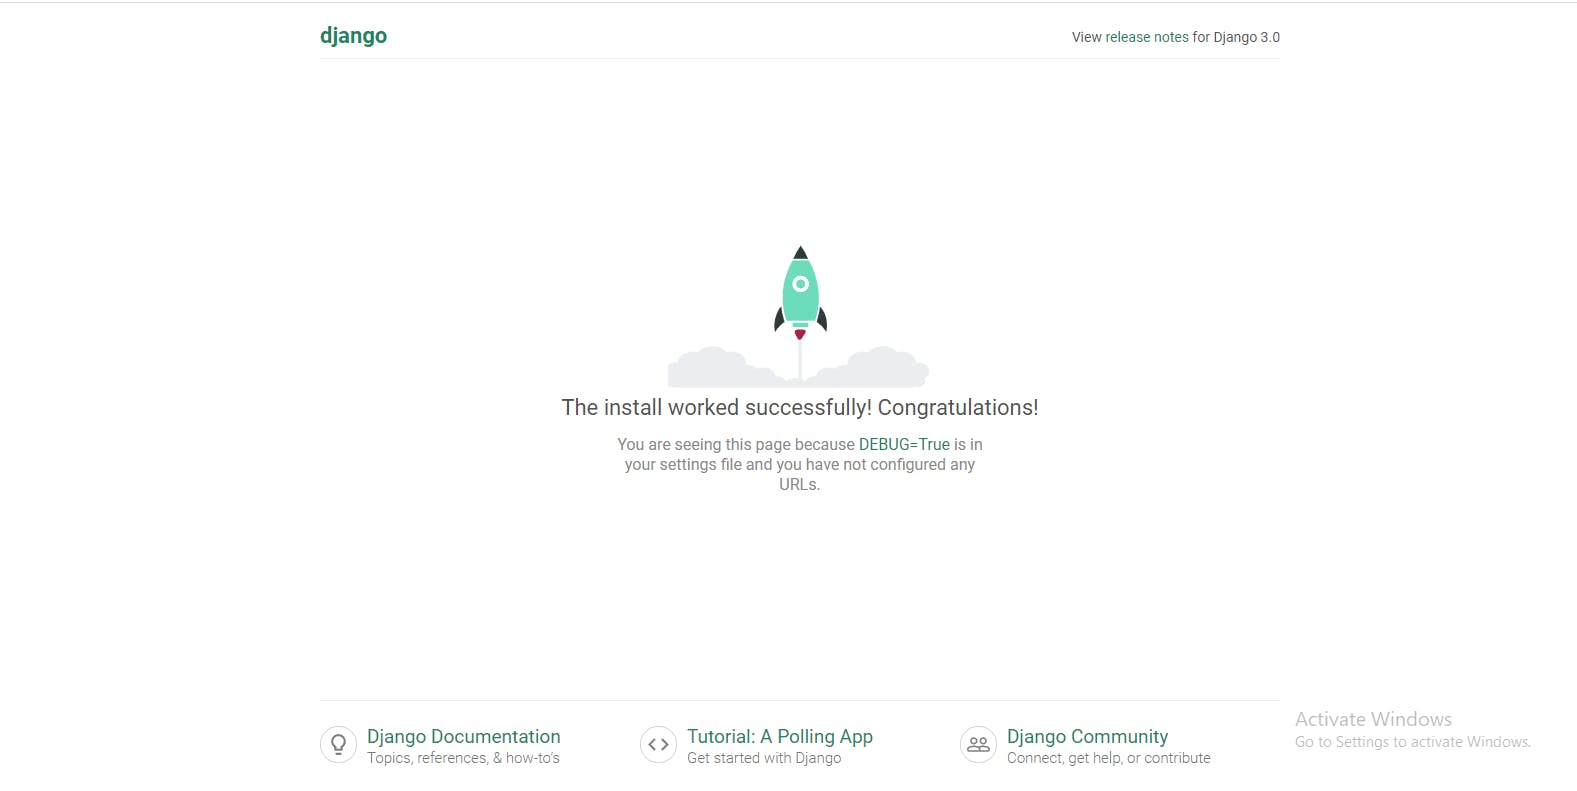
$ python manage.py runserverScroll down the output and copy the http address you see and run on your local browser and voilà !

You’d see the image below showing that your installation was successful.
Thanks for reading!